A garland is just a garland, right? Not when you get yours all dressed up for the season! Our new holiday garland looks great on its own or make it more “yours” with a few easy DIY additions.
Now let’s get to garland-ing!
Bring on the Desert Vibes
A little berries plus a few succulents equals the perfect West Coast-inspired garland. To get started, all you’ll need are a few add-ons:
- A holiday garland from The Bouqs Co.
- Some hypericum berries
- A succulent plant
- A pair of scissors or shears
Step 1: Choose where you want to place your garland. Once you envision the perfect spot — the table, mantel, or television stand are all good options — spread it out.

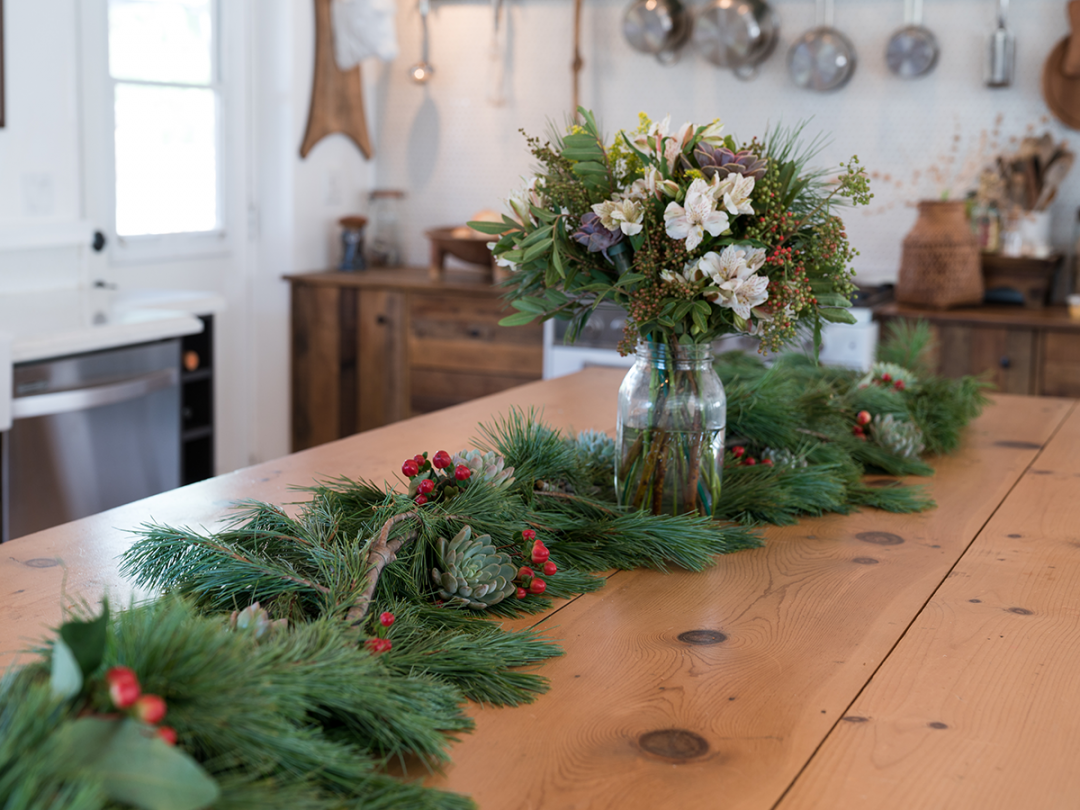
Step 2: Insert the succulents in your garland, evenly spaced throughout.
Step 3: Add your accents! Toss in sprigs of hypericum berries for a splash of seasonal color and unique contrast.

Step 4: If you’re looking for a real showstopper, add a holiday Bouq as a centerpiece to the display.
Step 5: Treat yourself to some hot cider and bask in the holiday cheer.
All of the Lights
This DIY garland upgrade is the perfect project for the rustic enthusiast. A couple additions will make it the star of the season! Here’s what you need to get started:
- Your holiday garland
- Burlap (that will be cut into strips)
- String lights
- A pair of scissors

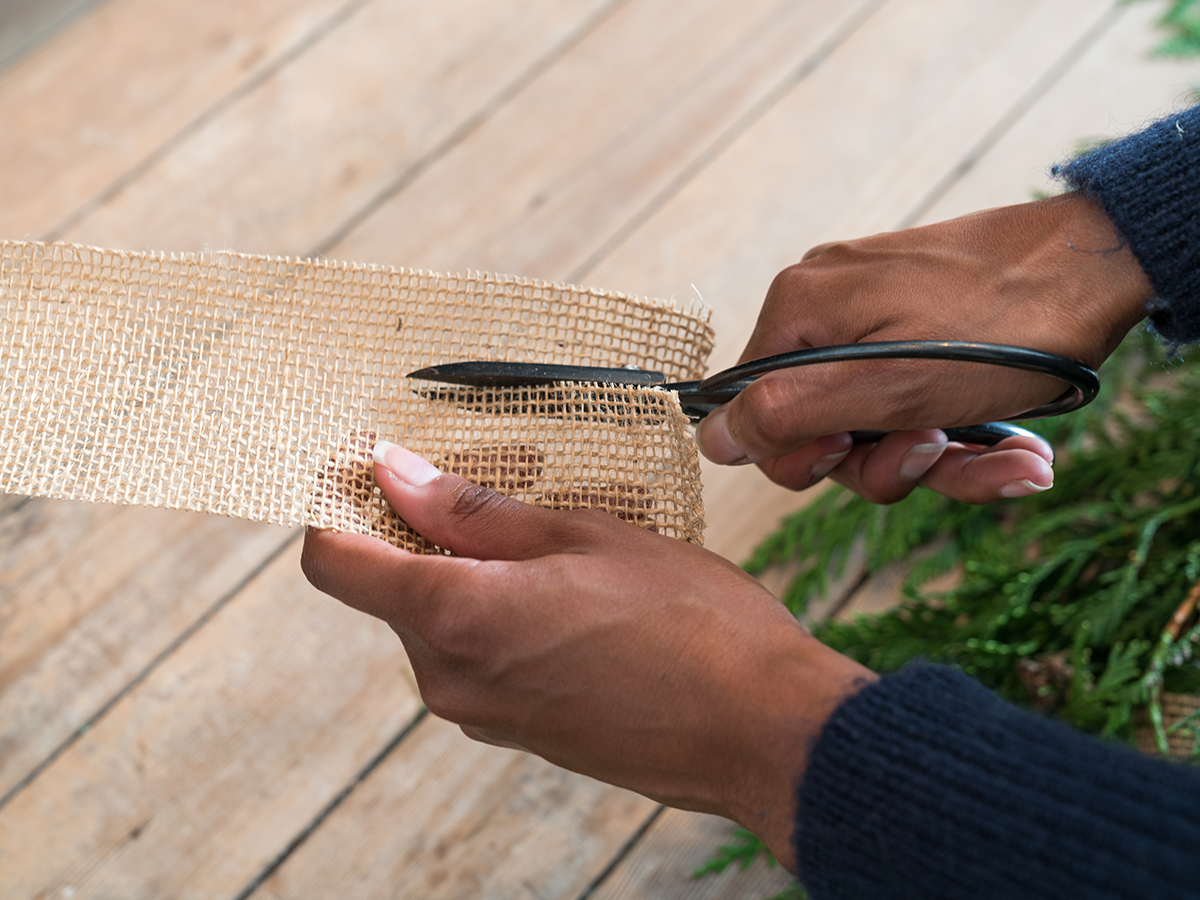
Step 1: Take your burlap and cut it into small, even strips roughly 4 inches long. Then set them aside for a later step.
Step 2: Drape your garland along the length of your table, mantel, or television stand.
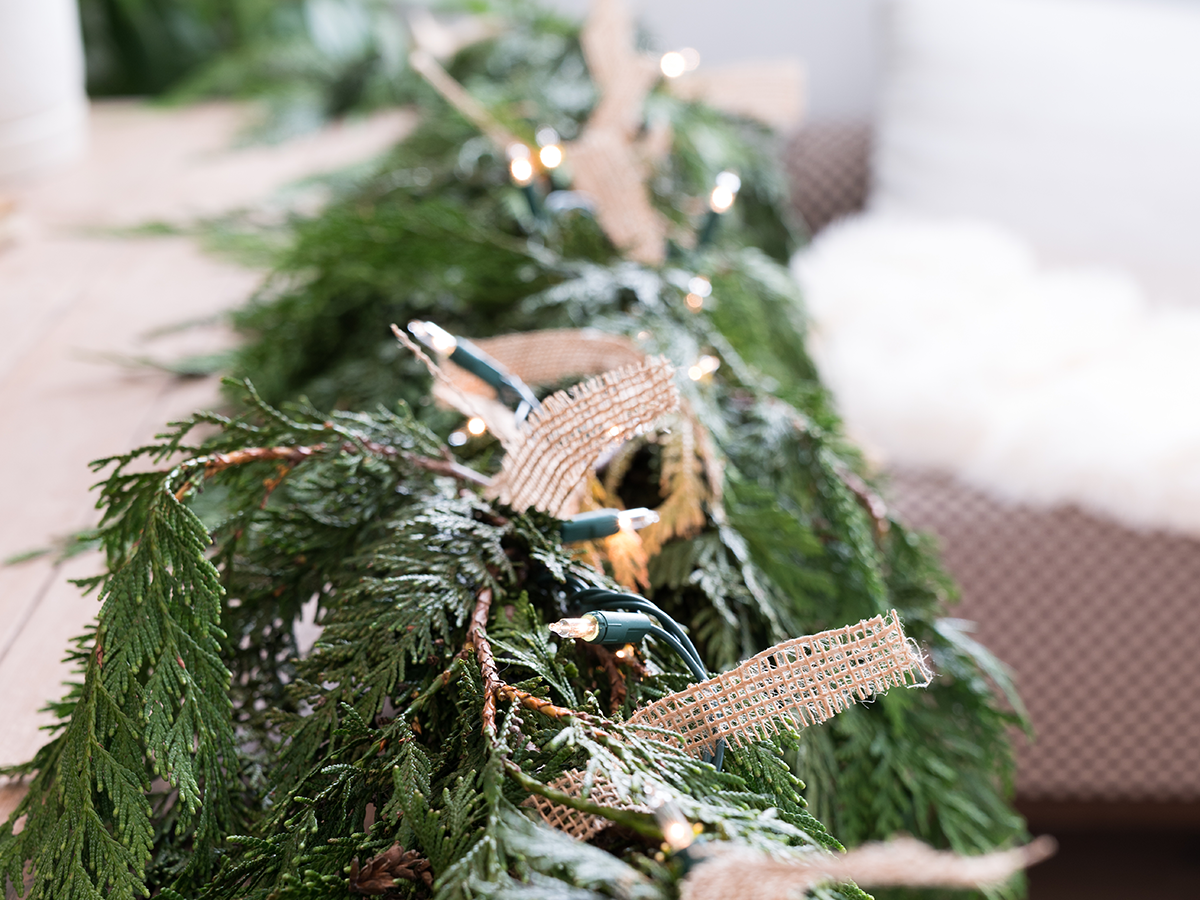
Step 3: Weave your string lights throughout the garland, adjusting them for even lighting as you go. It helps to plug in your lights and check your work, then fill in any unlit gaps as you see fit.

Step 4: Secure the string lights with your burlap strips, tying them in knots along the length of the garland.

Step 5: Plug in the lights and enjoy!
We want to see your DIY takes on these holiday creations! Make sure to share photos on social and use #Bouqlove so we can go gaga for your garlands!
Shop All


This DIY garland upgrade is the perfect project for the rustic enthusiast.
Great Blog. Thanks for sharing this information.
The wreath is really beautiful. In fact, my manual is awful. I need time and practice how to make such a special garland.