
Unfortunately, what natural flowers bring in fragrance and color, they lack in longevity – and after receiving a beautiful bouquet, it can be so hard to watch those vibrant daisies, aromatic lilies, or happy sunflowers wither away.
But when you’re wondering how to preserve your latest Bouq, or what to do with dried flowers in general, remember that there is no shortage of DIY dried flower art projects! Luckily, a DIY flower mobile is one way to keep a special bouquet around for a long time by turning it into decor for your home.
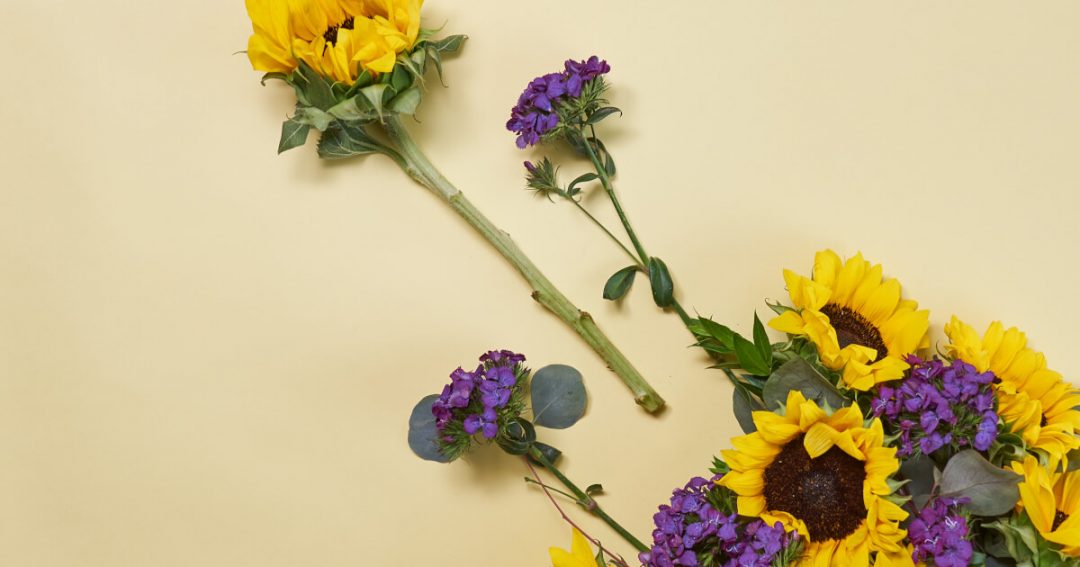
To begin, you will need to press your favorite flowers from your bouquet. To do so, put them face down in between two sheets of parchment paper and then place inside a heavy book. Close the book and leave undisturbed for 7-10 days.
This mobile places pressed flowers onto teeny clay medallions, providing a perfect backdrop to highlight their bright colors and keep their petals from dropping. You can buy pre-mixed clay at any craft store, or follow this simple tutorial (which gives you a chance to add some silver or white glitter to your new dried flower art piece!).
DIY Flower Mobile Supplies
- 1 cup baking soda
- 1/2 cup cornstarch
- 3/4 cup warm water
- rolling pin
- round cookie cutter or cup to create your clay circles
- pen or large needle for poking holes through clay circles
- pressed flowers
- mod podge (use outdoor if hanging outdoors)
- paint brush
- fishing line
- embroidery hoop (wooden or plastic)
- oven access
How To Make A DIY Flower Mobile
Step 1: Make the Clay
First, preheat your oven to 100 C degrees. Then, cut your clay with a cup or round cookie cutter, and poke a hole where your string can slip through so that you can hang it. Once your oven is fully warmed, bake the clay medallions for an hour. Let cool fully.
Step 2: Choose Your Flowers
Gather your pressed flowers and place them all together, but with enough space between each one so that you can see all of your options. Pressed leaves or greenery from your bouquet make wonderful mobile additions! You can alternate florals with greens for a rustic look, or brights with pastels for something more whimsical.
Step 3: Assemble the Medallions
Apply a coat of mod podge to the clay and press a flower or leaf on top, then apply a second mod podge coat. It will remain a little milky-looking for a few hours, but not to worry – if you leave them overnight, the mod podge will be clear when dry.
Once completely dry, flip the medallion and repeat on the other side, either with a different flower or the same bloom. This is where you can get creative with your choices! While you allow these bad boys to dry, you can get started on the bones of your mobile.
Step 4: Assemble the Mobile
Take two pieces of string (hemp, fishing wire, raffia, you get the idea) and fold them in half, then knot so there’s a loop at the top. This will be what you hang your mobile with, whereas the medallions will hang with clear fishing line. Take the embroidery hoop, measure directly across it, and mark at the four compass points (N, S, E, and W). Tie one of the strings at each point and hang. You’re ready to attach your flowers!
String fishing line through the little holes you’ve poked in your medallions, cutting them to varying lengths, and tie them on the mobile. It might be best to leave them a little long so you can test out what order you like them best in and at what lengths. Once you’ve found an arrangement you like, secure on to the mobile and find a place to hang!
DIY Dried Flower Projects
While we love alive-and-thriving flowers, we’ve got to admit we have a weak spot for adorable DIY dried flower art projects like this one – and we hope you do, too! If you can’t get enough of upcycling your “aged” Bouqs and want more ideas for what to do with dried flowers, work out your creative side with our dried flower DIY guides. What better way to make the environment happy and extend the life of your Bouq?
Shop All

